Whether you're looking to teach someone the basics of firearm handling, want to have fun blasting cans in your free time, or are looking for an effective and fun hunting tool, an air rifle can do it all. Properly sighting an air rifle and pulling off accurate shots can be challenging, however—just like it is with a firearm.
Allow us to walk you through the sighting process and offer some tips that will help you develop your shooting skills. With this guide and a bit of practice, you’ll soon be picking off everything from cans to varmints and more with sniper-like precision.
What is Sighting an Air Rifle?
With any gun, you rely on a sight system to hit your target precisely. The issue is that everyone’s eyes judge distance and alignment differently. These minor differences can throw your shots off entirely, unless you sight your air rifle.
No one can do this for you; you’re matching your sights to your eyes.
Sighting an air rifle requires a bit of trial and error. Before you start, it’s best to make sure you have enough time to do it right.
Preparation:
First, you need to do a little prep work. Make sure you have a large, outdoor area with plenty of room for you to maneuver and shoot from multiple distances at a safe target.
Once you have a proper location, you need targets. Most Crosman air rifles come packaged with paper targets, but you can also print some off the internet for free. Your target should be set at about shoulder height with a solid backstop to prevent your shots from hitting anything that might be behind the target.
Next, load your air rifle and prepare it for firing. Please refer to your owner’s manual for in-depth instructions.
Note: If you own a stabilizer, this is incredibly useful for ensuring you're firing uniformly throughout the sighting process. It helps remove any differential movement caused by changes in stance or the way you hold and level your air rifle.
Safety Guidelines:
Before you begin sighting your rifle, here are a few safety rules you need to follow. Your air rifle can cause extreme injuries, property damage, and even death. Use it with the same level of respect as you would a firearm.
- ALWAYS treat the air rifle as though it is loaded and ready to fire.
- ALWAYS treat air rifles with the same respect you would a firearm.
- ALWAYS store the air rifle unloaded and away from children.
- ALWAYS aim in a SAFE DIRECTION.
- ALWAYS keep the muzzle of the air rifle pointed in a SAFE DIRECTION.
- ALWAYS keep your finger off the trigger and out of the trigger guard until ready to shoot.
- ALWAYS keep the air rifle “ON SAFE” until you are ready to shoot.
- ALWAYS check to see if the air rifle is “ON SAFE” and unloaded when removing it from storage.
- ALWAYS check to see if the air rifle is “ON SAFE” and unloaded when handing it to, or receiving it from another person.
- ALWAYS have you and others wear shooting glasses to protect your eyes.
- ALWAYS wear shooting glasses over eye glasses or prescription glasses
- ALWAYS place a shooting backstop in a location that will be safe should the backstop fail.
- ALWAYS check your backstop for wear before and after each use. All backstops are subject to wear and will eventually fail. Replace your backstop if the surface is worn or damaged, or if a ricochet occurs.
- ALWAYS use the proper size pellet in your air rifle. Check the markings on your air rifle to verify the pellet size.
- NEVER point the air rifle at any person or at anything you do not intend to shoot.
- NEVER reuse ammunition.
- NEVER shoot at hard surfaces or at the surface of water. The pellet may bounce off or ricochet and hit someone or something you had not intended to hit.
- NEVER attempt to disassemble or tamper with your air rifle. Use an Authorized Service Station. Using an unauthorized service or repair center, or modifying the function of your air rifle in any way, may be unsafe and will void your warranty.

Step 1: Close Range
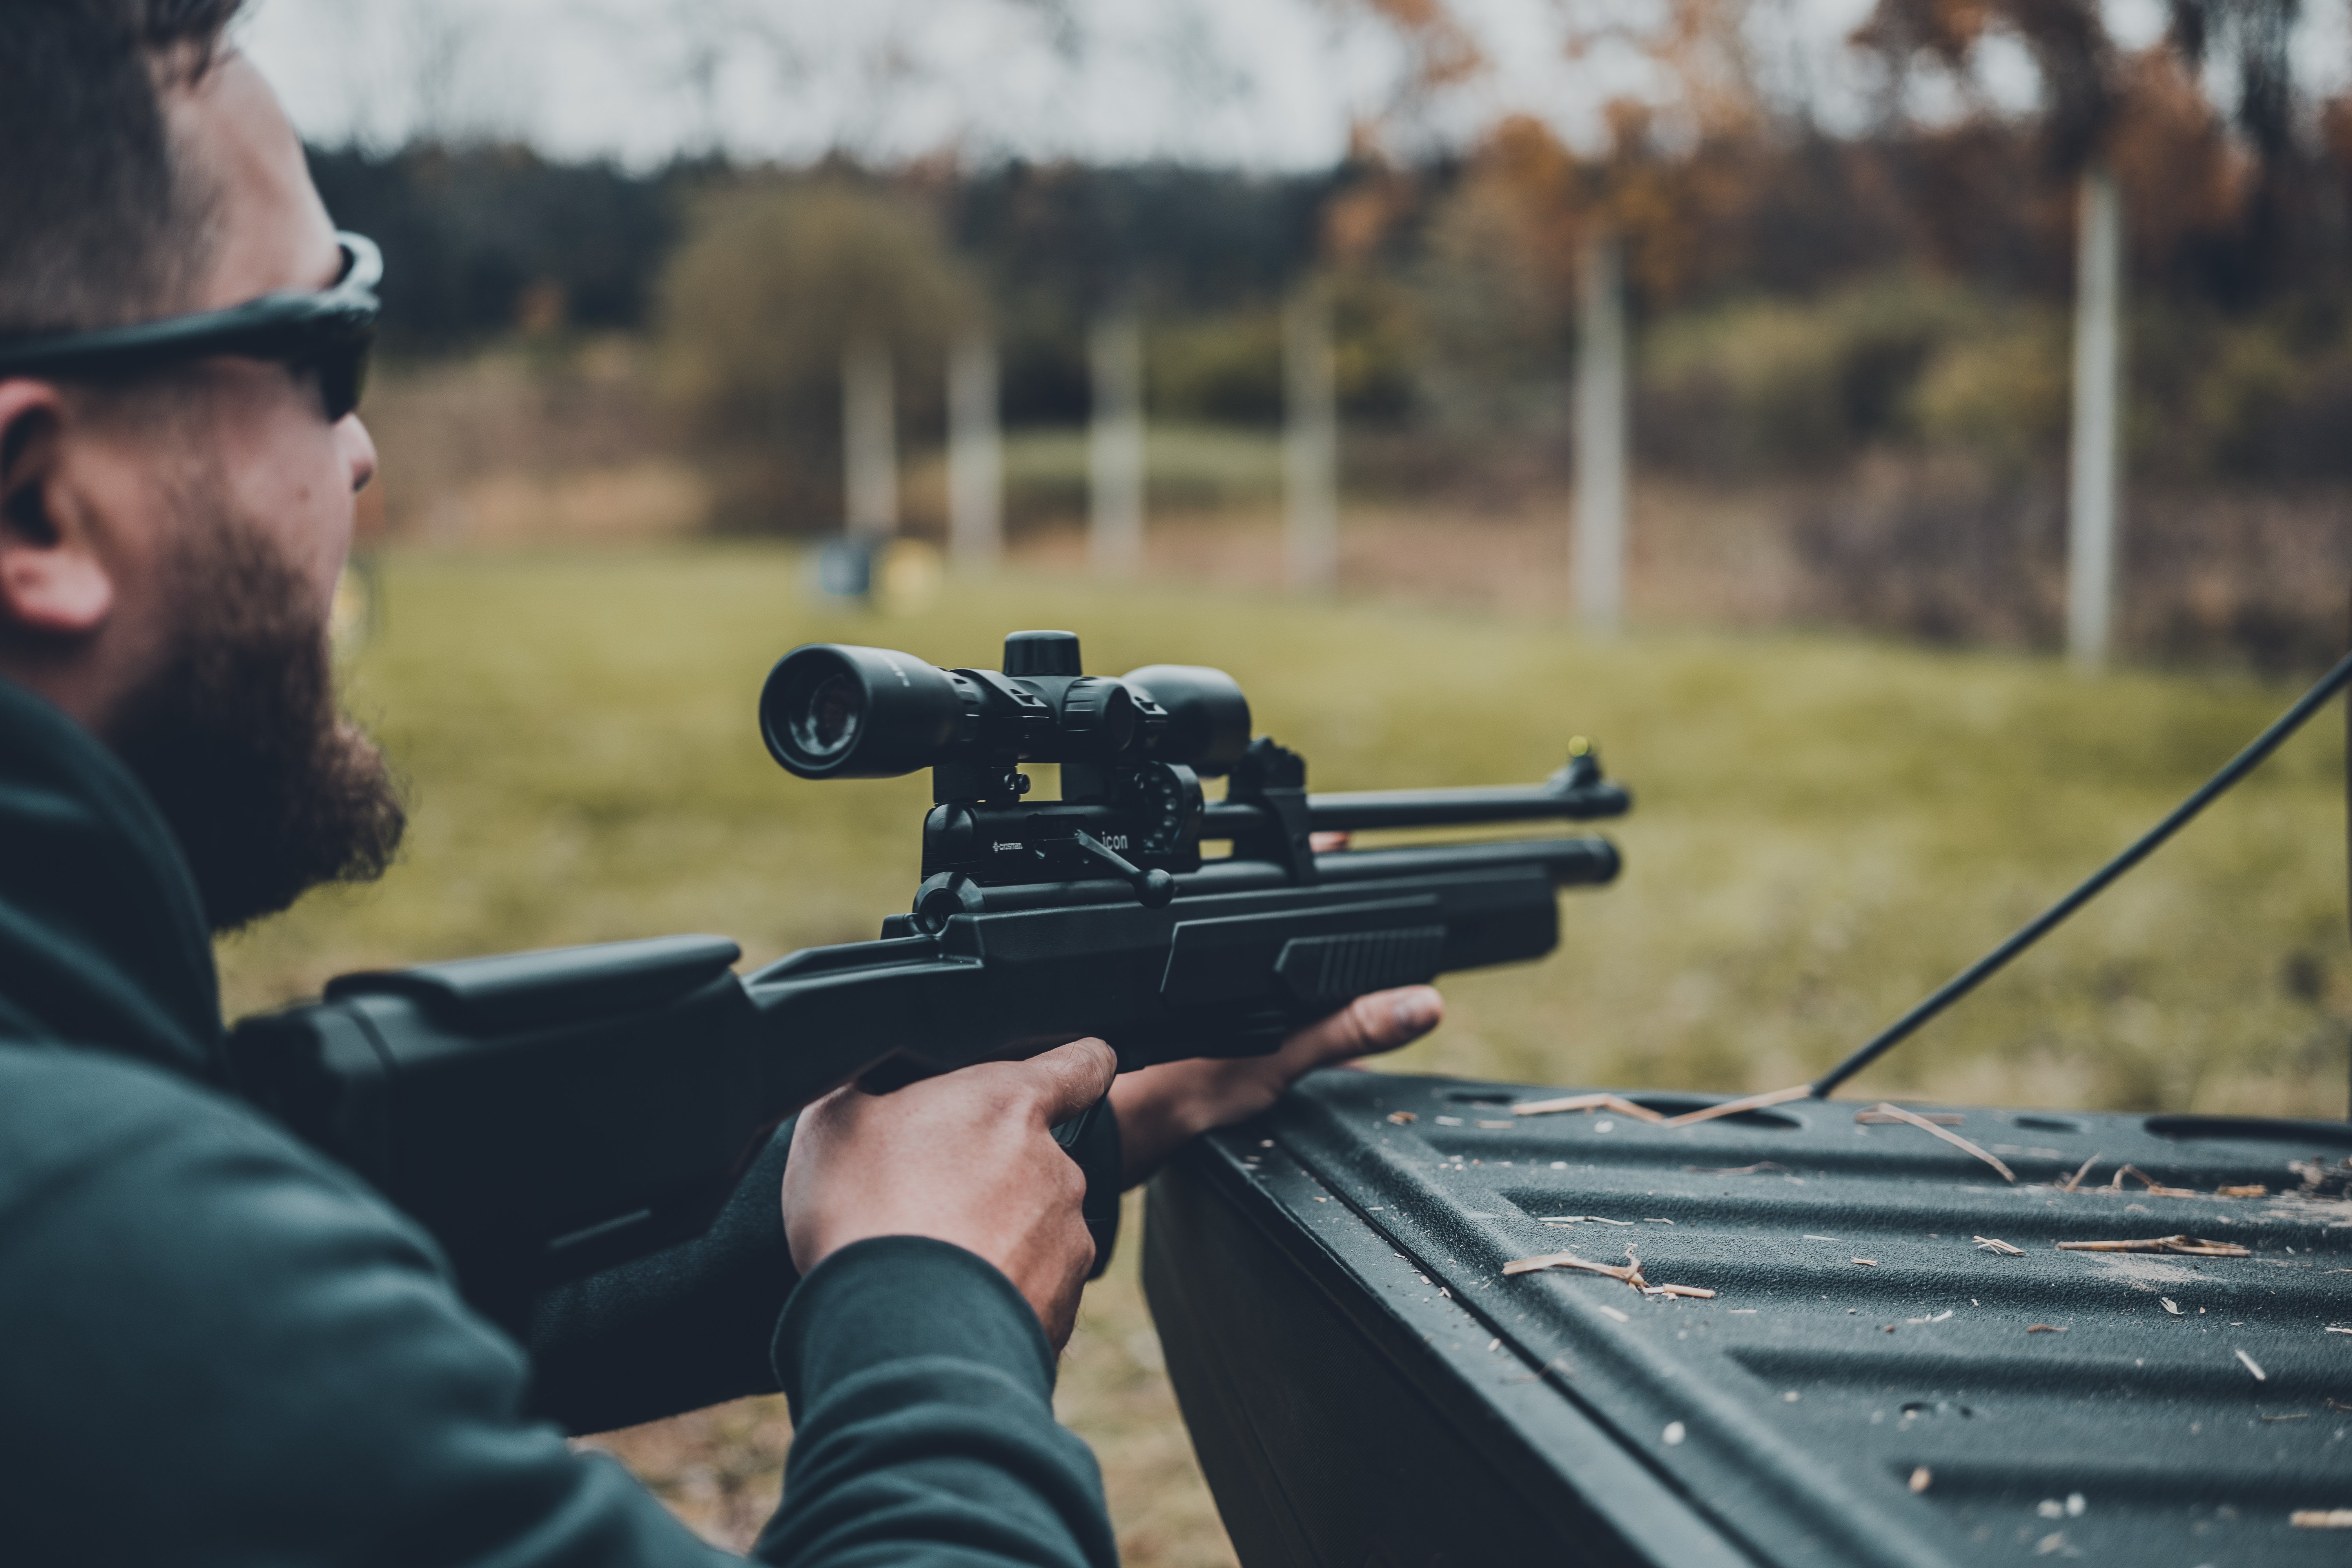
Whether you’re using a scope or the built-in iron sights of your air rifle, the sighting process is largely the same. To begin, position yourself directly in front of your target, 10 feet away. Leave your sights or scope in the same format as they were when you unboxed the rifle.
Most airguns use a fixed front sight post or blade and an adjustable rear sight notch. However, some will use a peep sight for the rear.
At the 10-foot range, align the front and rear sights of your open sight system – or center the crosshairs in your scope – with the bullseye of the target.
Take a deep breath, release half of the air in your lungs, and gently squeeze the trigger when your sights or scope stops wobbling.
If you don’t hit the bullseye, note in which direction(s) you’re off—left, right, up, or down. There are typically two adjustment knobs. One to raise the sights for low shots or lower them for high shots (adjusting yardage), and one to adjust the sights left and right (adjusting windage). Adjust these as your user manual instructs to “dial in” your aim and then try again.
Once you hit three bullseyes in a row, move to step 2.
Step 2: Mid-Range
Shooting at a target 25 yards away will test your skills without pushing you too hard. The process is the same as it was at close range—you're just further away. When you can reliably hit three bullseyes in a row from 25 yards, move to step 3.
Note: It’s important to change out your target if you’ve hit it so many times you can no longer tell which shot is the one you just fired. It’s common to require multiple target sheets per sighting session.
Step 3: Long Range
This step will be different depending on whether you're using a scope or iron sights, but the general process is the same as at closer ranges.
For sighting at long range with iron sights, we recommend shooting from 50 yards away from your target. This is a relatively long distance, and it might challenge new shooters, but it’s still within a reasonable distance for firing without a scope.
If you are using a scope, you can shoot from either 75 or 100 yards away. If you’ve never had any shooting experience, 75 yards is a better option to ensure your skill level doesn’t affect the sighting process too much. You can’t get a perfectly sighted rifle at long range if your technique still needs work.
Once you can reliably hit the bullseye at long range, your sights are dialed in and you’re ready to begin using your rifle.
Start Shooting with a High-Quality Air Rifle
Of course, none of these tips will be useful if you don’t have a high-quality, reliable air rifle. With products suitable for shooters of all ages and levels, there’s a quality, fun Crosman product for everyone.
Pick yours up and start shooting, today!